Why Painting Over Bathroom Mold Is a Temporary Fix
Painting over bathroom mold does not solve the problem. It hides the visible discoloration for a short time, but the underlying moisture and contamination remain. Within weeks or months, the mold typically bleeds through the paint or causes new damage that is worse than before. A proper solution requires addressing the source of moisture and removing the mold entirely before any cosmetic work is done.
Bathroom mold thrives on damp surfaces, poor ventilation, and organic materials such as caulk, grout, and drywall. When someone paints over moldy caulk or a stained ceiling, the mold does not die. It simply stalls. The moisture that fed it in the first place continues to seep through the same spots, and the paint layer eventually fails. Blistering, cracking, and staining appear again, often more stubbornly than the original growth.
What Happens When You Paint Over Mold
Mold colonies extend roots called hyphae into porous surfaces. Caulk, being a soft and flexible sealant, is especially vulnerable. These roots penetrate below the surface, so a coat of paint or primer only covers the visible spores. The roots remain active, drawing nutrients from the underlying material. As the colony regrows, it pushes against the paint film, causing it to lift. The result is a patchy, peeling finish that looks worse than the original mold stain.
Many homeowners try a quick fix with a mold-resistant paint or a primer labeled for stain blocking. These products can slow the recurrence, but they cannot seal over active mold. The mold continues to degrade the substrate, and the paint adhesion weakens over time. Eventually, the only remedy is to strip the paint, remove the affected caulk or drywall, and treat the area properly.
Why Caulk Is a Common Problem Area
Caulk is used in bathrooms to seal joints between tiles, around tubs, and along sinks. It is a flexible sealant that can trap moisture behind it. When caulk loses its seal or becomes cracked, water seeps underneath and creates a perfect environment for mold. The dark, damp gap behind the caulk is almost impossible to clean fully without removing the old caulk entirely.
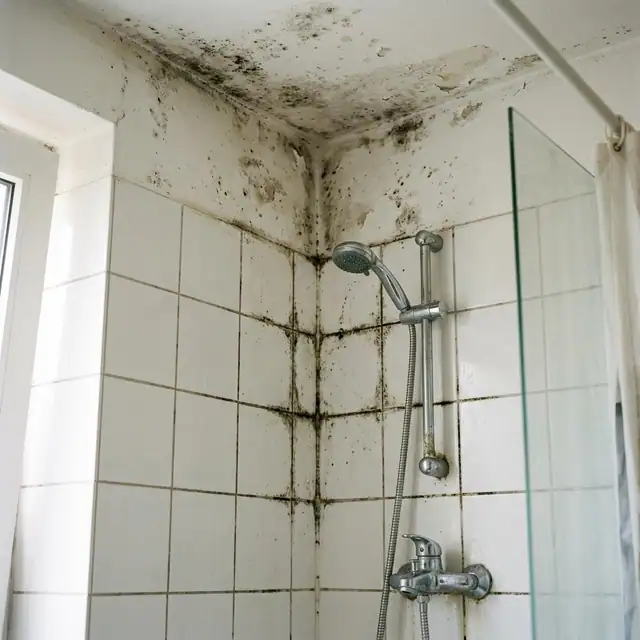
Painting over moldy caulk is a losing battle. The caulk itself is non-porous to some degree, but the mold sits on the surface and in the microscopic crevices. A layer of paint does not bond well to the silicone or latex base of caulk, so it chips off quickly. Even if the paint holds, the mold stains reappear as the colony pushes through. For these reasons, caulk mold removal is the only reliable approach. Cutting out the old caulk, cleaning the joint, drying it thoroughly, and applying fresh caulk is the method that stops the cycle.
The Real Cost of a Surface Fix
Painting over mold might seem economical in the short term, but it often leads to larger expenses later. The paint job fails, and the mold spreads into adjacent materials. Drywall can become saturated, requiring cutting and replacement. Wood studs behind the wall can rot if moisture persists. The cost of repairing these hidden problems far exceeds the price of proper mold removal upfront.
Another risk is health. Mold spores can become airborne when the surface is disturbed, such as during painting. If the mold is not contained and removed, occupants may inhale spores that aggravate allergies, asthma, or other respiratory conditions. A surface fix does nothing to reduce spore counts in the room. The mold continues to release spores into the air, especially when the bathroom is warm and humid after a shower.
What Proper Mold Removal Involves
Effective mold removal starts with identifying the moisture source. Leaky pipes, poor ventilation, or condensation on cold surfaces must be corrected. Without fixing the moisture problem, any remediation is temporary. Once the source is addressed, the affected materials are cleaned or replaced. Non-porous surfaces such as tile and glass can be scrubbed with a mold-killing solution. Porous materials like caulk, grout, and drywall often need to be removed and replaced.
For caulk, the process is straightforward. The old caulk is cut out with a utility knife or caulk removal tool. The joint is cleaned of all residue, then dried completely. A mold-resistant caulk is applied and smoothed. This method ensures that no hidden mold remains behind the sealant. It also restores the waterproof barrier that keeps moisture out of the wall cavity.
Bathroom ventilation is another critical piece. An exhaust fan that vents to the outside, or a window that can be opened, helps reduce humidity after showers. Simple habits like keeping the fan running for twenty minutes after bathing and wiping down wet surfaces can prevent mold from returning.
When Painting Can Work
Painting over a previously moldy surface is acceptable only after the mold has been completely removed and the area has been treated with a mold-killing primer. The surface must be clean, dry, and free of any residual stains. For example, if a bathroom ceiling had a small patch of mold from steam, and the mold was cleaned with a bleach solution or a commercial mold remover, then primed and painted, the risk of recurrence is low. But that scenario assumes the mold was only surface-level and the underlying material is intact. For caulk and grout, where mold penetrates deeper, replacement is the standard.
Some homeowners use paint that contains antimicrobial additives. These paints can inhibit mold growth on the surface, but they do not kill mold that already exists underneath. They are a preventive measure, not a cure. Applying them over active mold is a waste of money.
How to Approach Caulk Mold Removal
If you notice black or green spots on the caulk around your tub or sink, the first step is to test whether the caulk is still flexible and sealed. If it is cracked, peeling, or spongy, it needs to be replaced. If it is still intact and the mold is only on the surface, a thorough cleaning with a bathroom cleaner containing bleach or hydrogen peroxide may remove it. But surface cleaning rarely gets all the spores out of the caulk's texture. For long-term results, removal is safer.
The process involves:
- Cutting out the old caulk with a sharp tool
- Cleaning the joint with a mold-killing cleaner
- Drying the area for at least 24 hours
- Applying a new bead of mold-resistant caulk
- Smoothing the caulk and allowing it to cure fully
This sequence is not difficult for a handy homeowner, but it requires patience. Rushing the drying step is a common mistake that leads to mold returning quickly. Moisture trapped behind fresh caulk will breed mold within weeks.
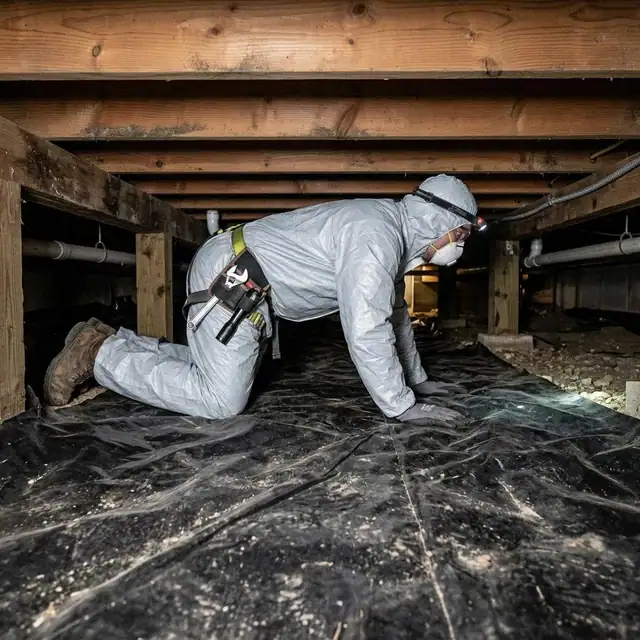
For larger areas or recurring mold that returns after cleaning, professional help may be needed. Mold that has spread behind walls or into the subfloor is beyond a DIY fix. In those cases, a service like Mold Removal Boston Pros can assess the extent of the problem and perform a full remediation that includes moisture control and material replacement.
Mold Removal Boston Pros handles bathroom mold by looking at the whole picture: the visible growth, the hidden moisture, the damaged materials, and the ventilation issues. That comprehensive approach is what stops mold from coming back. Painting over mold is not part of that process because it does not address any of those root causes.
The Bottom Line
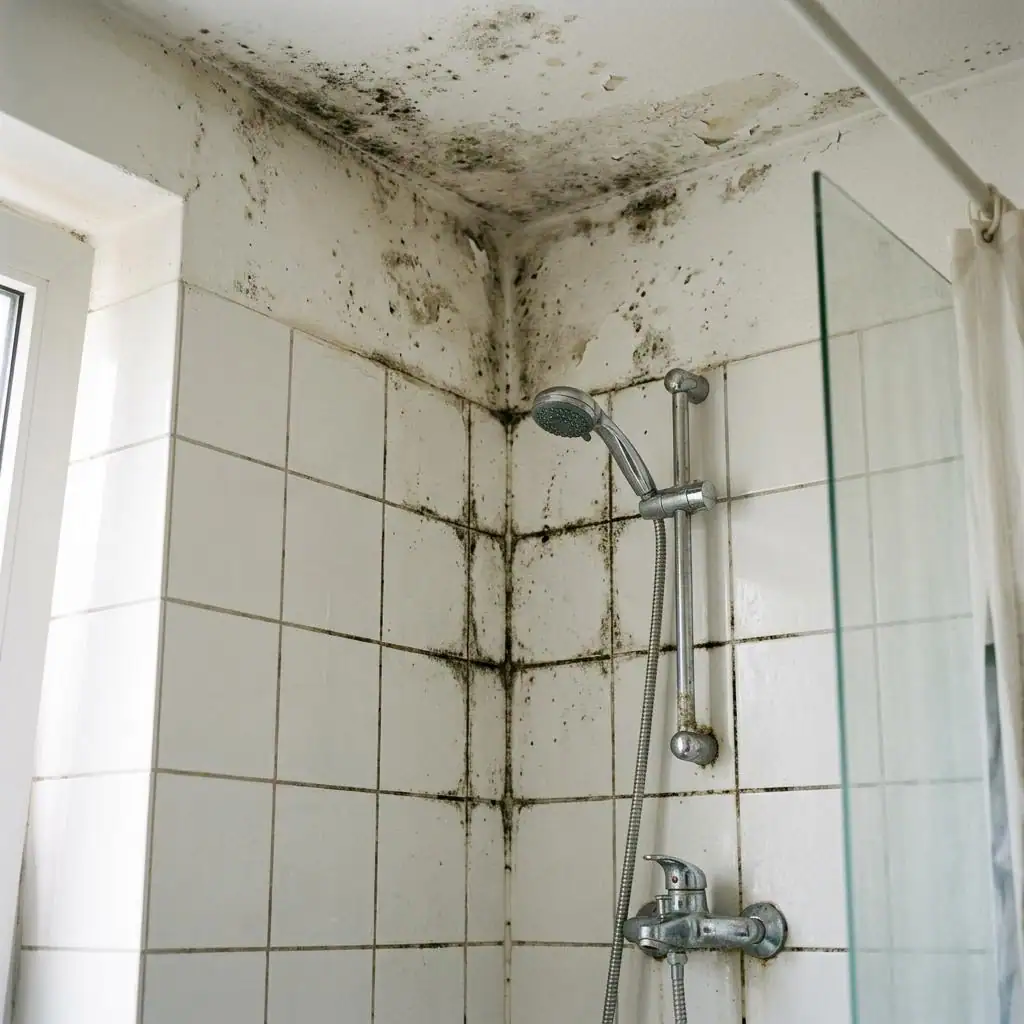
Painting over bathroom mold is a cosmetic stopgap that fails in the medium term. Mold needs to be removed, the moisture source fixed, and the area restored with appropriate materials. For caulk, that means cutting it out and replacing it. For walls and ceilings, it means cleaning or replacing the affected sections. Trying to seal mold under paint only delays the inevitable repair and can make it more expensive later.
The most effective strategy is to act quickly when mold appears. A small spot on caulk can be dealt with by removal before it spreads to the drywall or tile. Keeping the bathroom well-ventilated and fixing leaks promptly will reduce the conditions that mold needs to grow. And if the problem is persistent or extensive, a professional assessment can save time and prevent unnecessary damage.
Mold Removal Boston Pros provides that kind of thorough service, addressing both the symptoms and the causes. But for anyone considering a paint roller as a cure, the answer is clear: it does not work. Remove the mold first, then decide whether painting is needed.